Carga de palés y flujo de aire
La forma en que se arma y se coloca un palé determina la rapidez —y la uniformidad— con la que un QFM lo congela. El aire de congelación debe recorrer a través de sobre el palé, no a su alrededor. Estas son las prácticas de carga que permiten aprovechar al máximo cada ciclo.
¿Por qué la carga determina el tiempo de congelación?
La clave está en la circulación del aire. Arma la pila de manera que el aire frío llegue a todas las cajas, no solo a las de afuera.
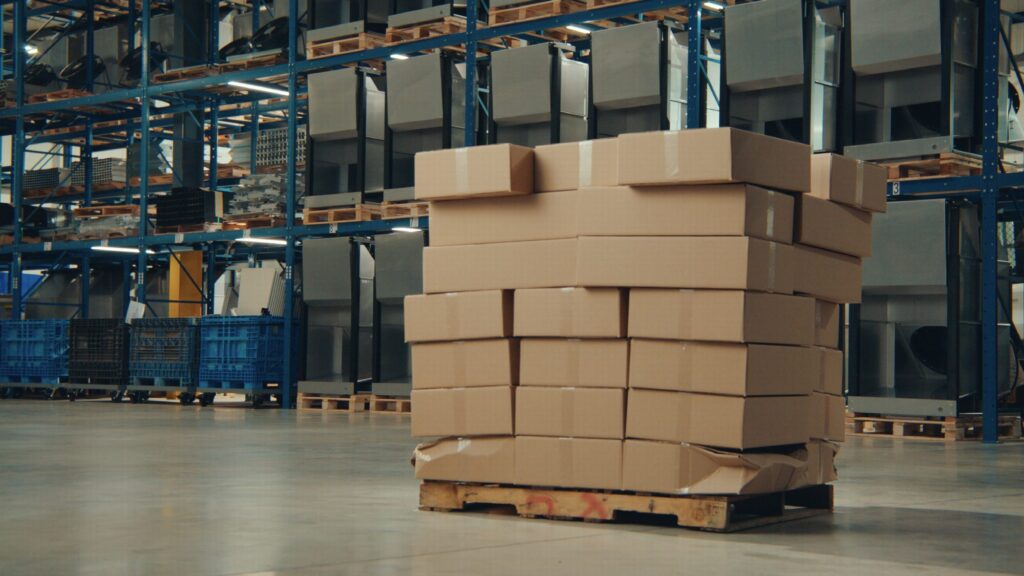
Un QFM impulsa un gran volumen de aire frío hacia la parte frontal de cada palé. Ese aire solo es efectivo si puede llegar a través de la pila. La falta de espaciadores, los huecos en la chimenea, las capas superiores sueltas y el producto que sobresale de la cara del palé facilitan el paso del aire alrededor de la carga — y cada pie cúbico que no se coloca en el palé representa un rendimiento de congelación por el que pagaste y que no recibiste.
La carga y el almacenamiento van de la mano. La altura de la abertura se adapta al tamaño de tu palete real más alto, para que el aire no pueda pasar por encima de una pila más baja — véase Sección 3: Estanterías. La carga es la otra mitad: ni siquiera una abertura del tamaño perfecto puede solucionar el problema de una pila que bloquea su propio flujo de aire.
Armar la pila para Airflow
Cuatro hábitos que marcan la diferencia entre una congelación rápida y uniforme y una lenta y desigual.
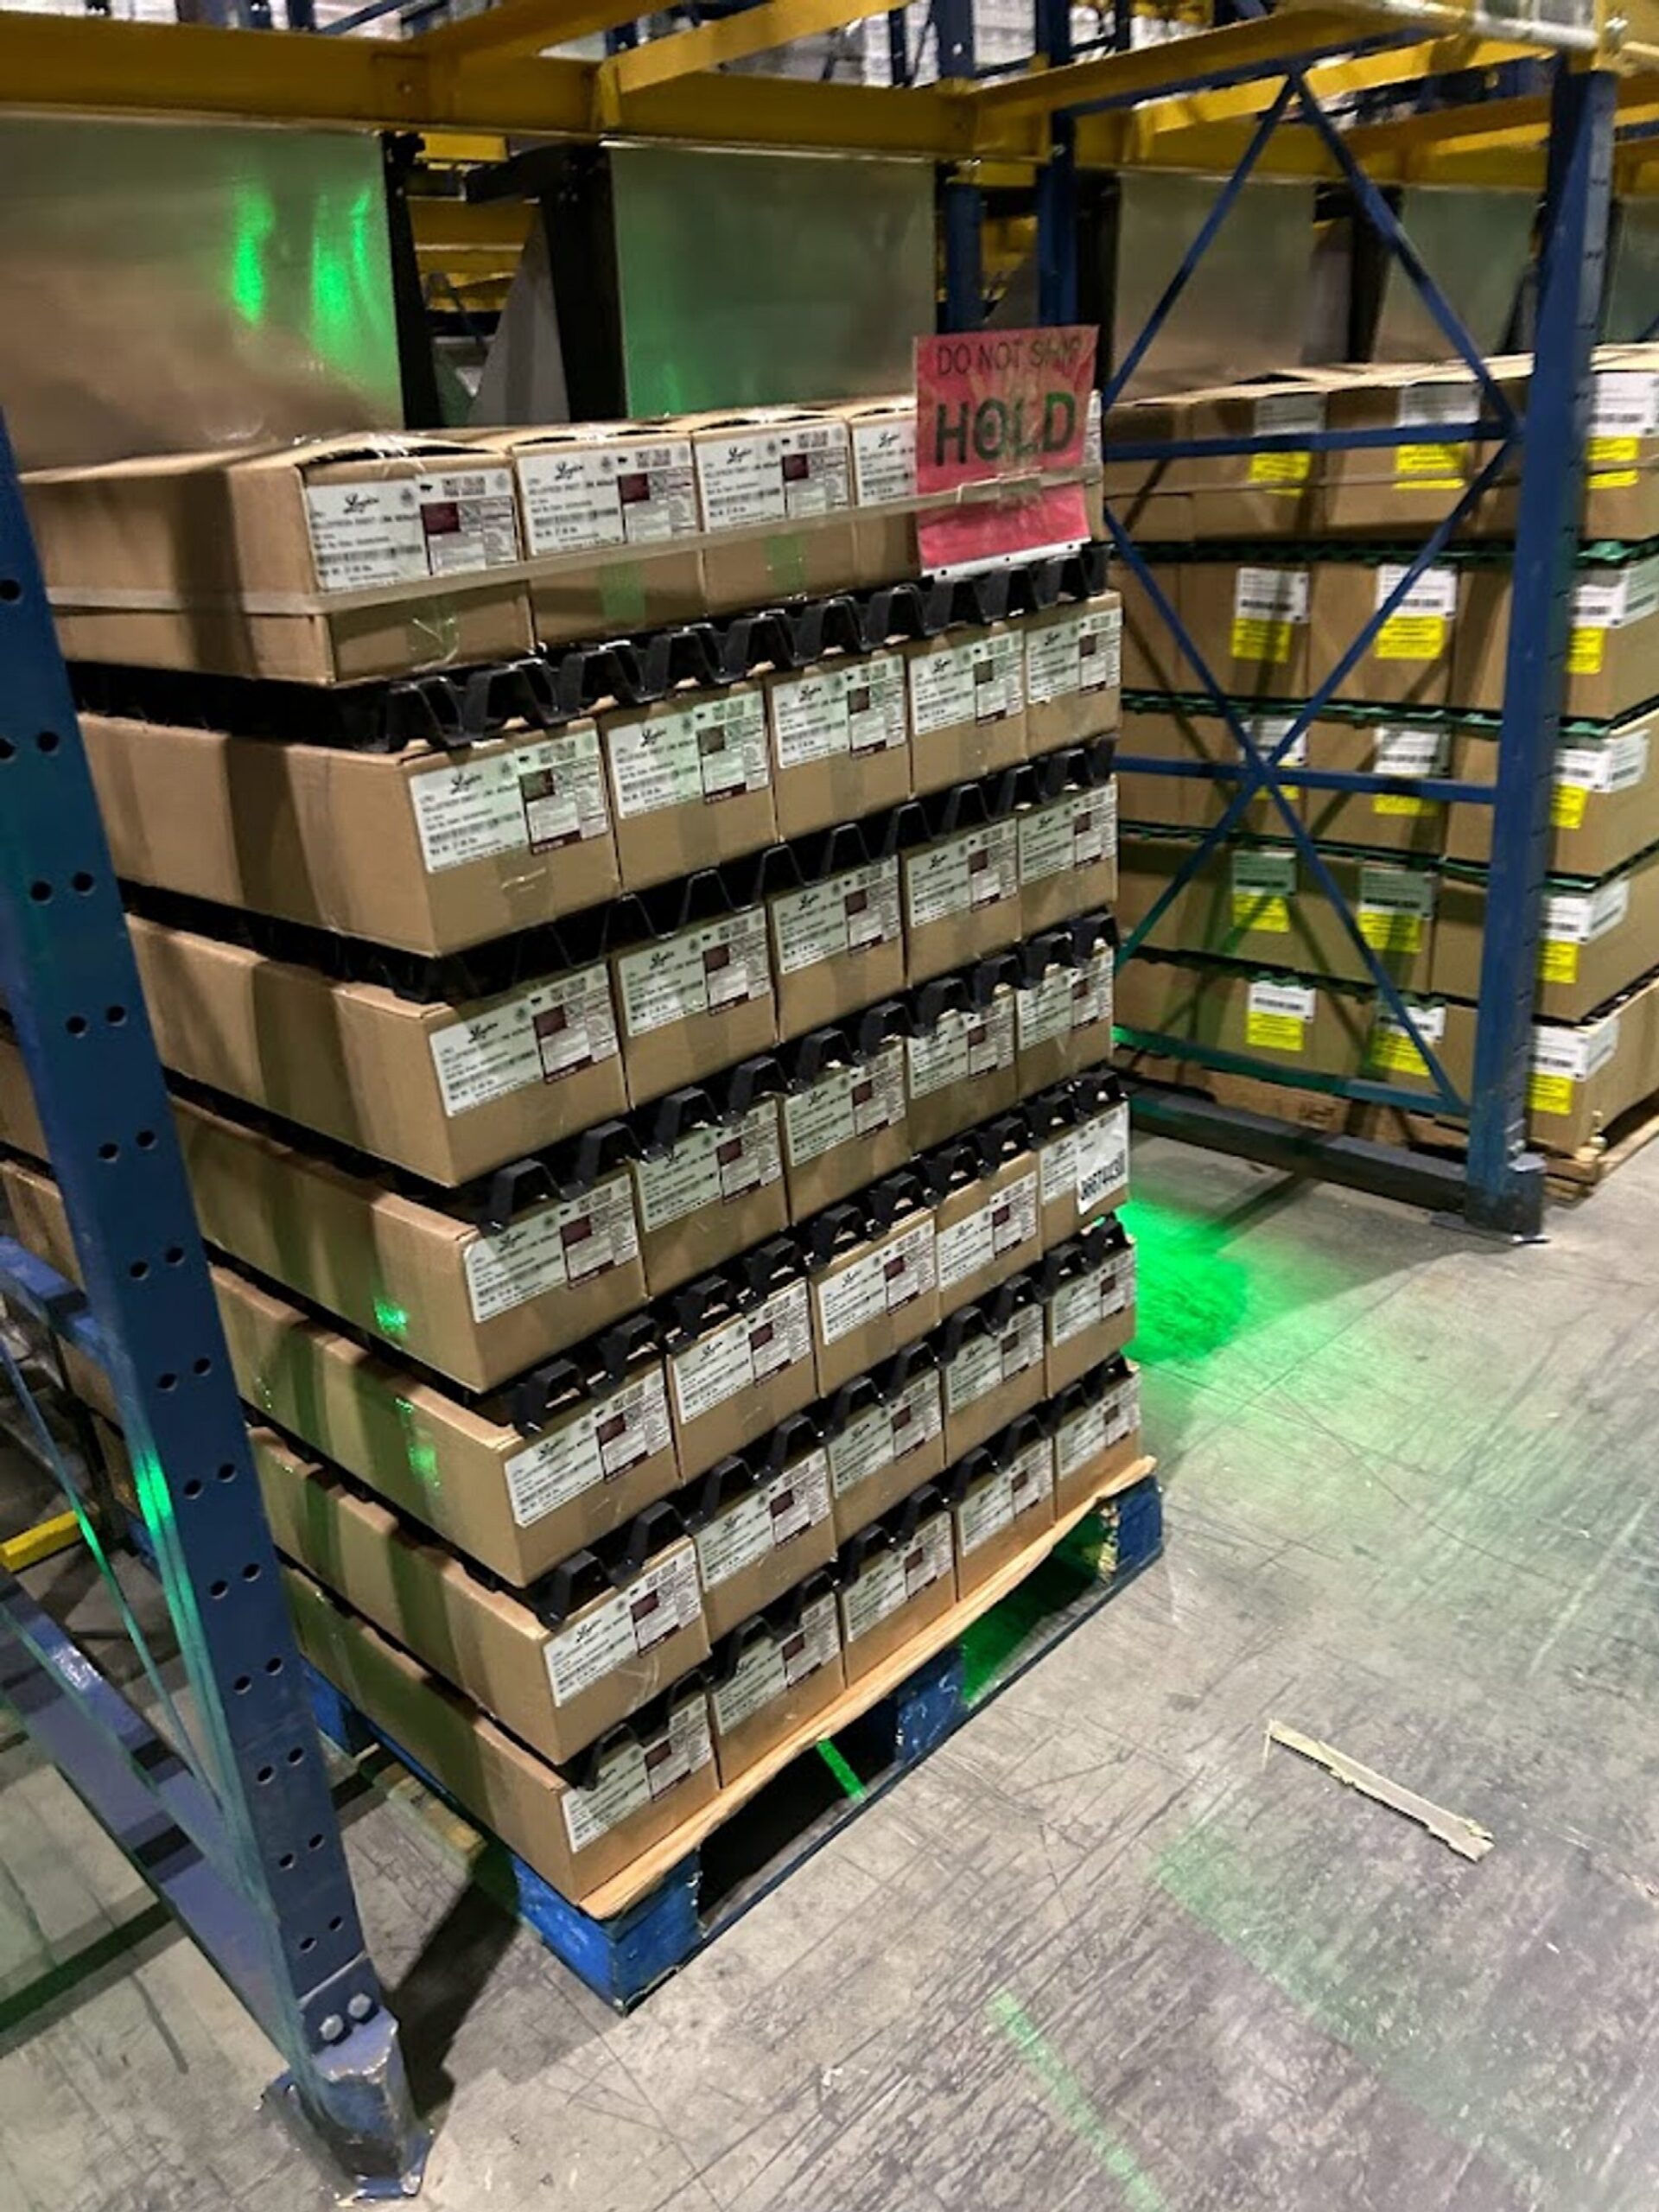
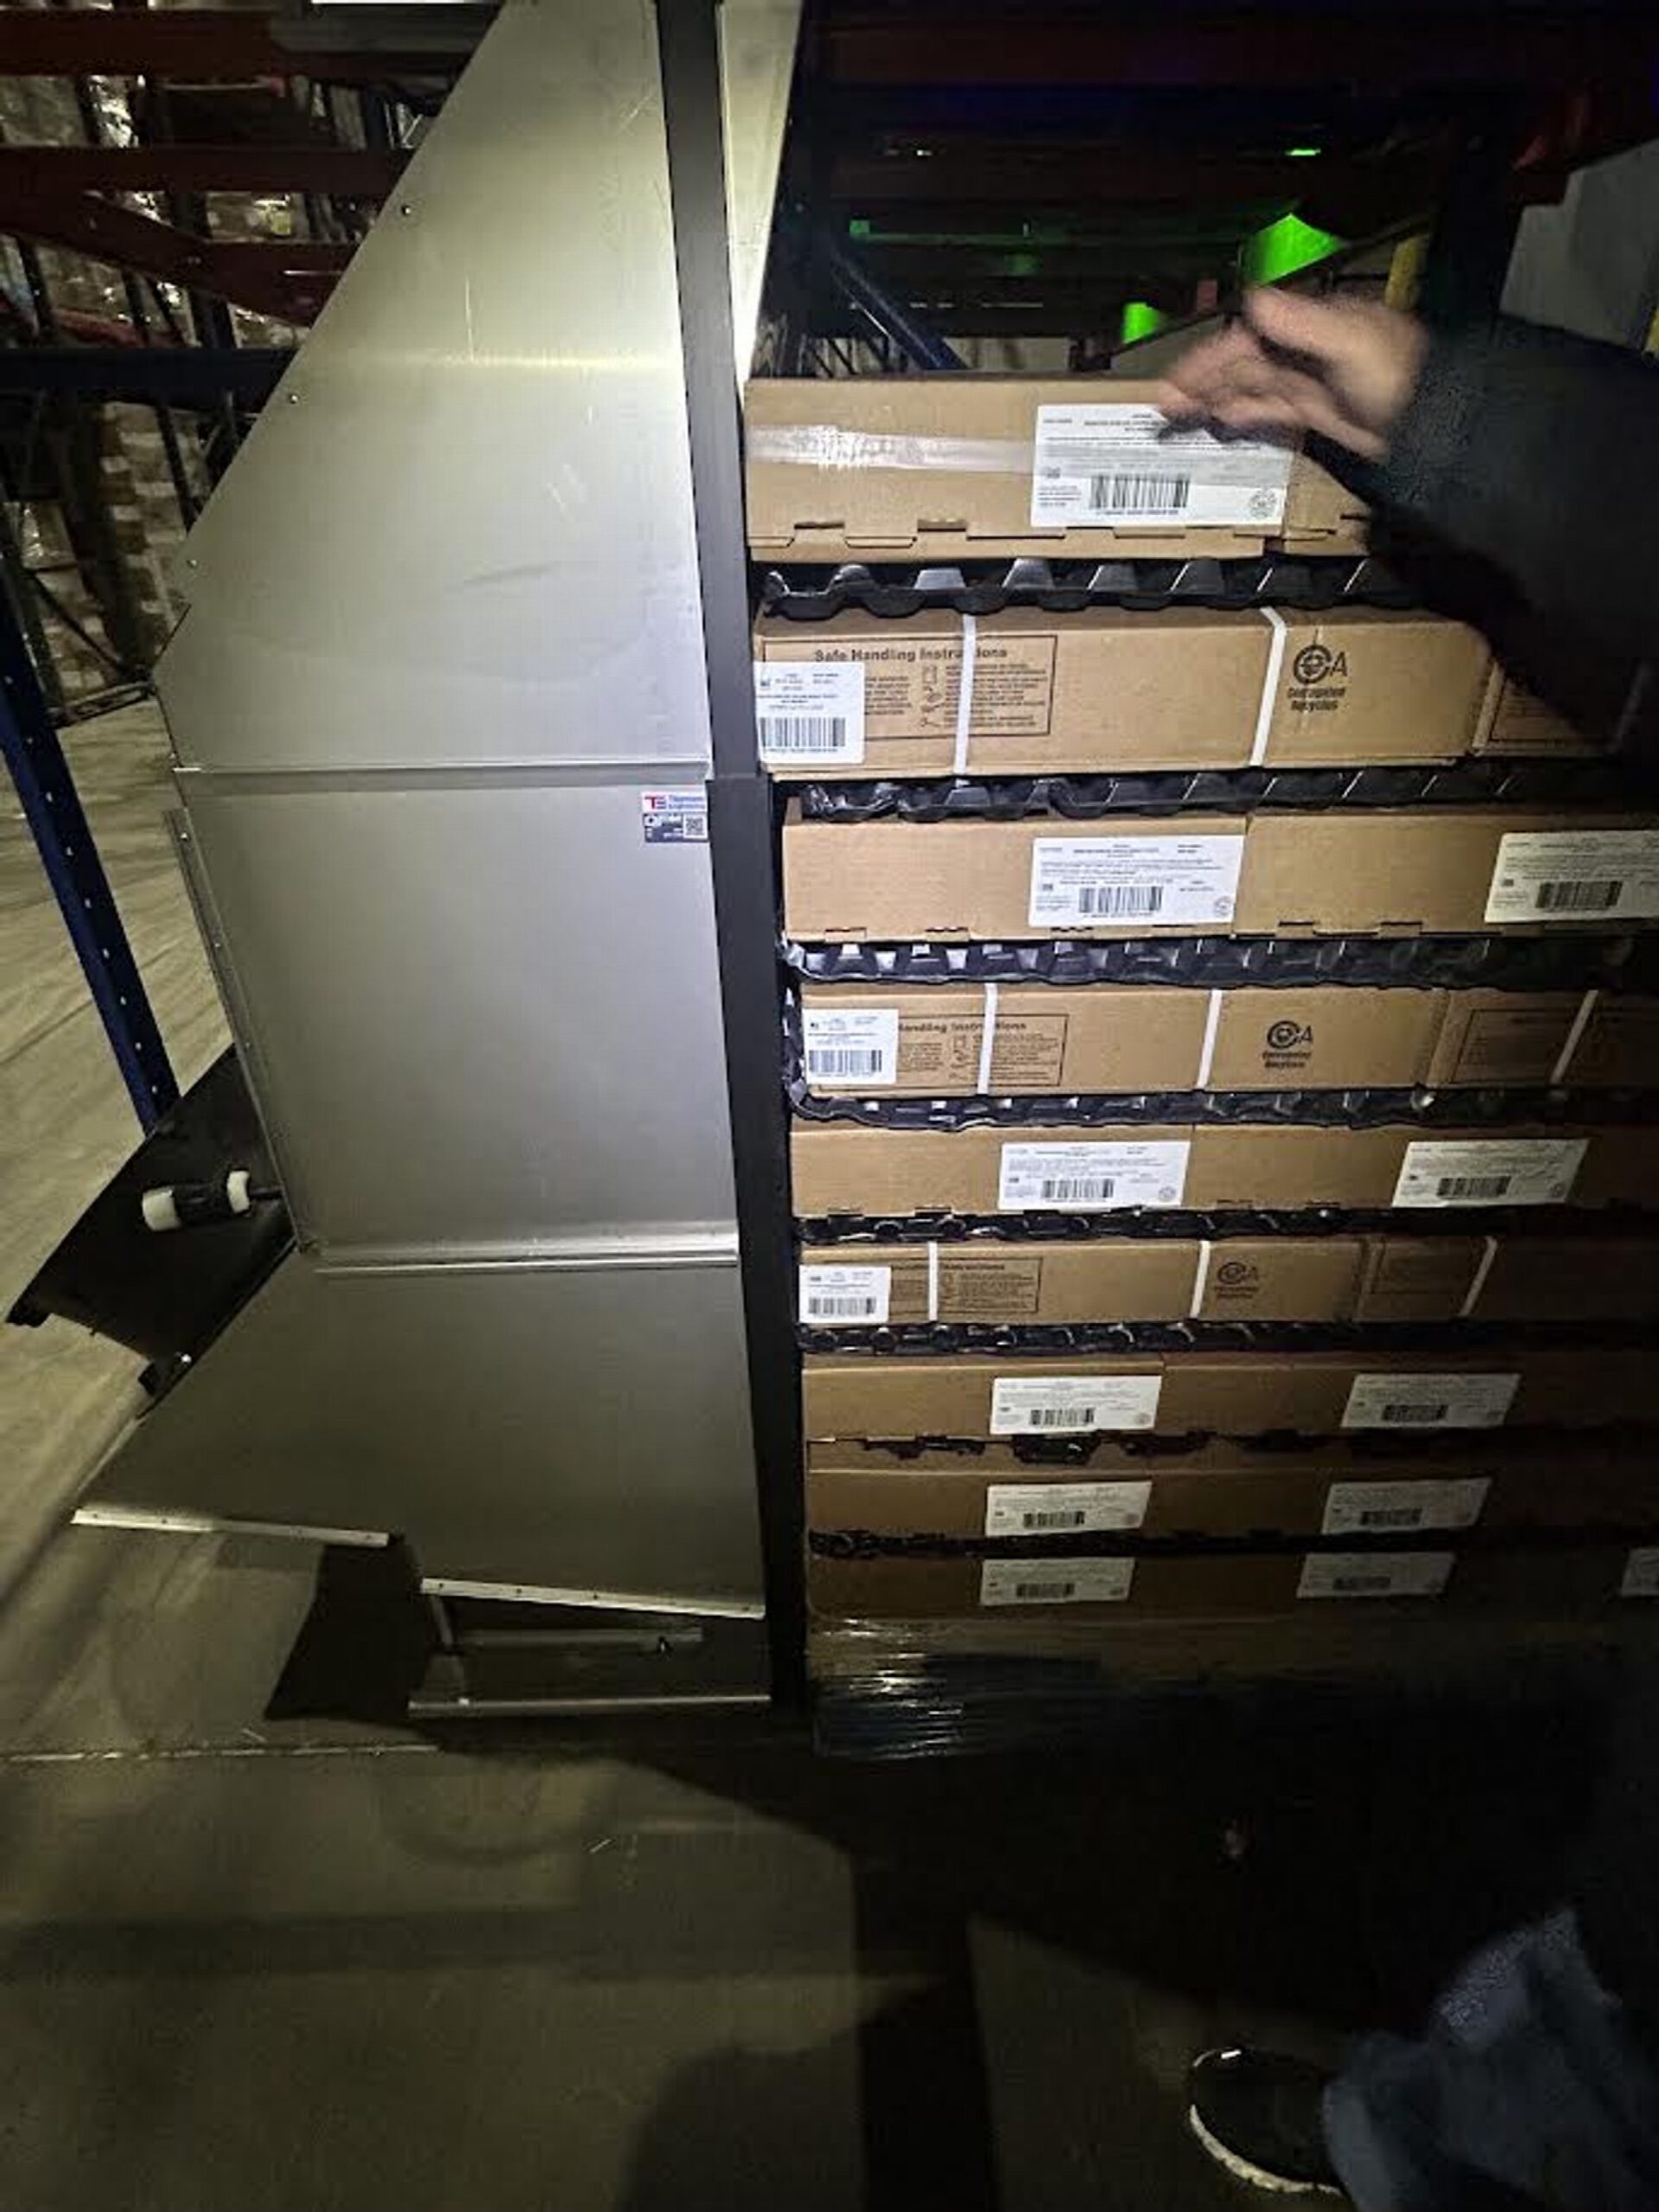
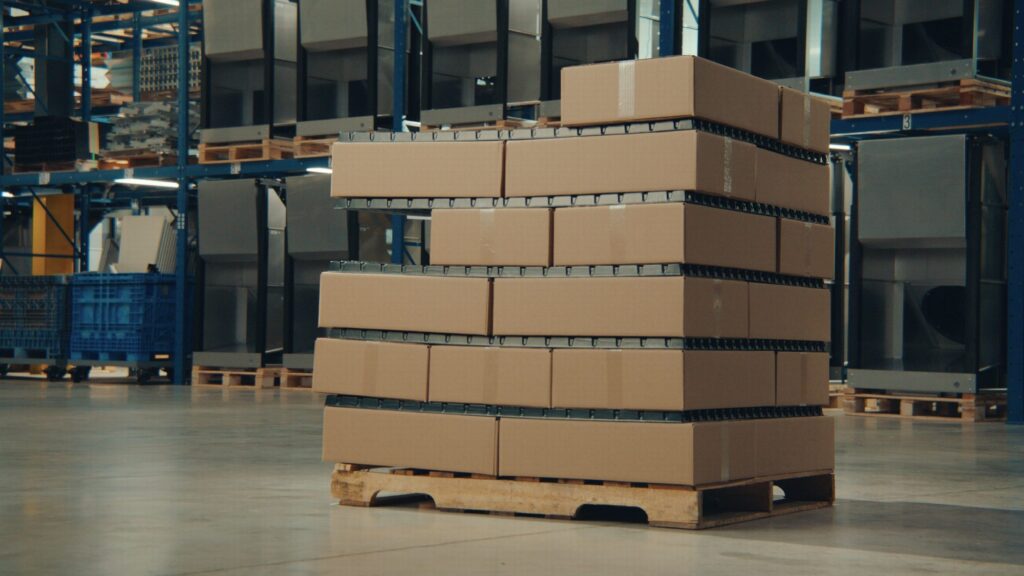
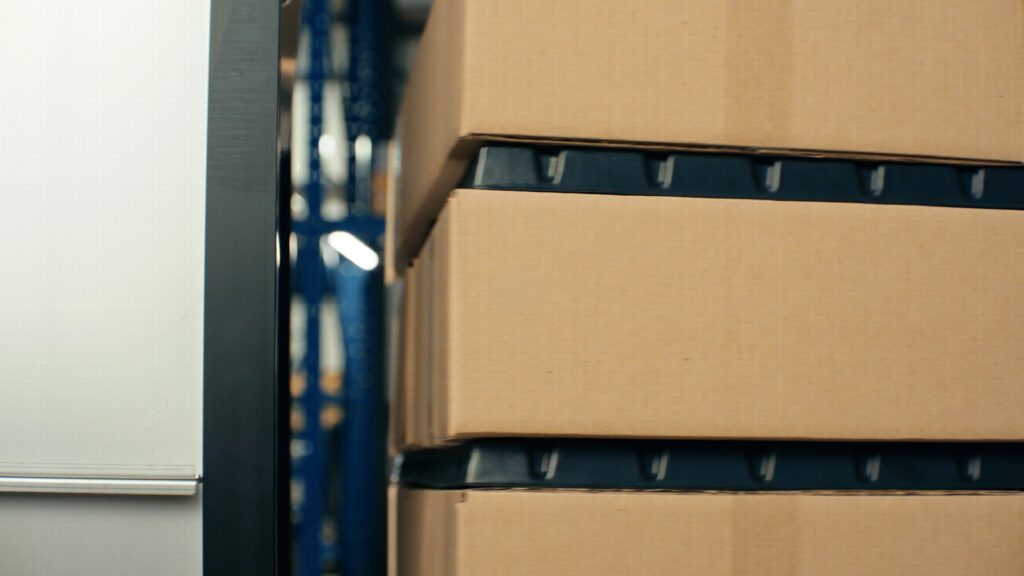
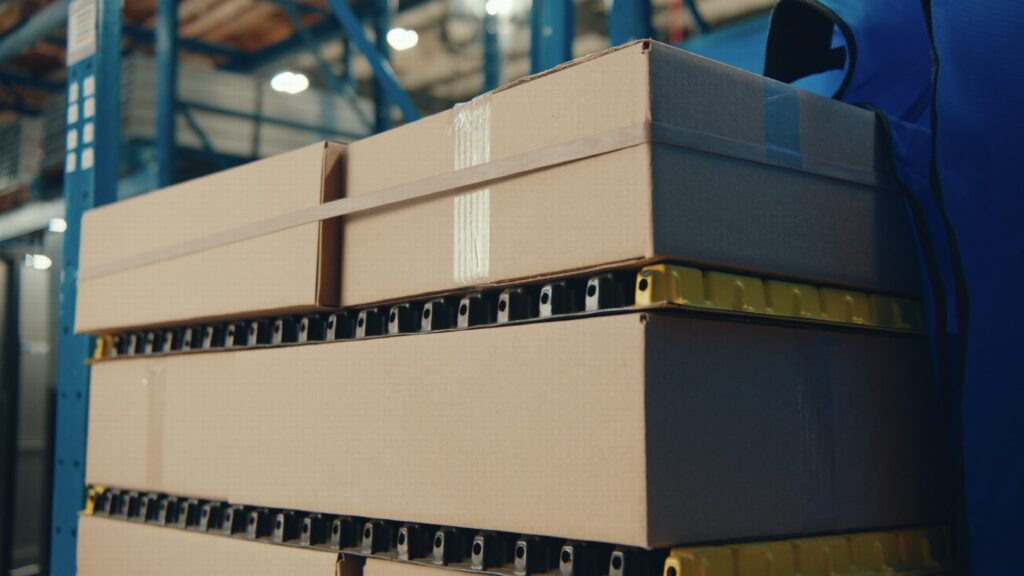
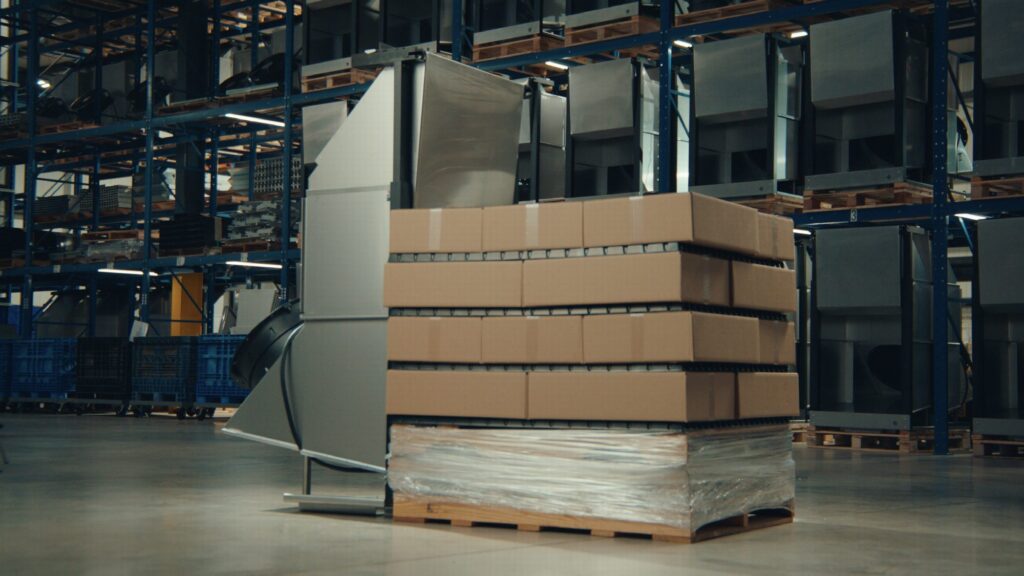
1. Coloca separadores entre cada capa
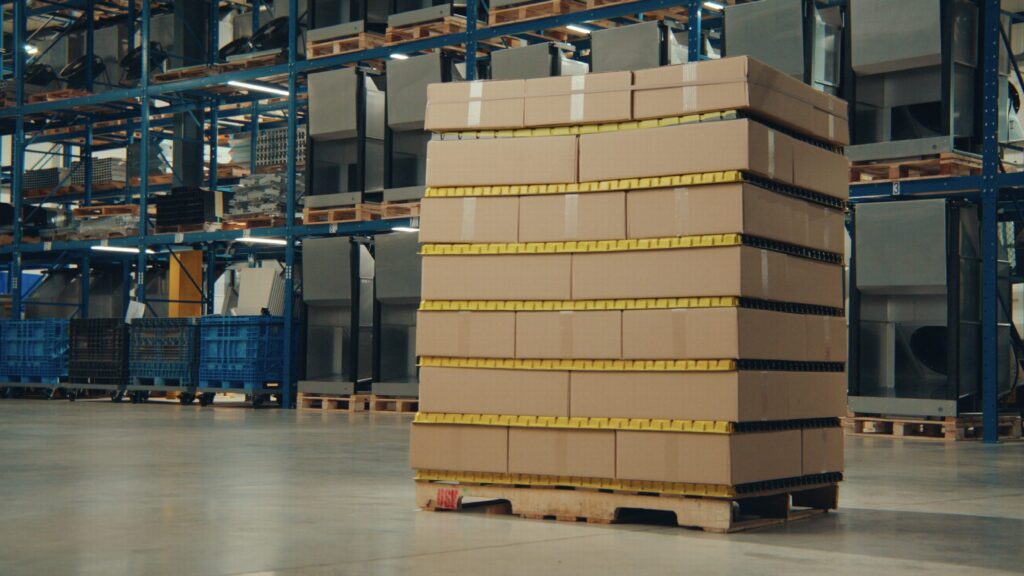
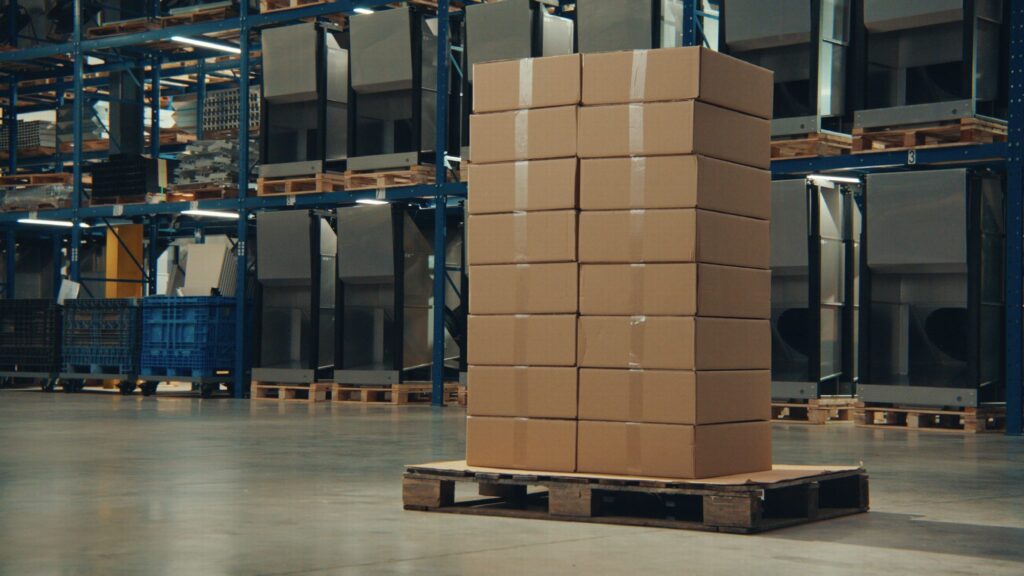
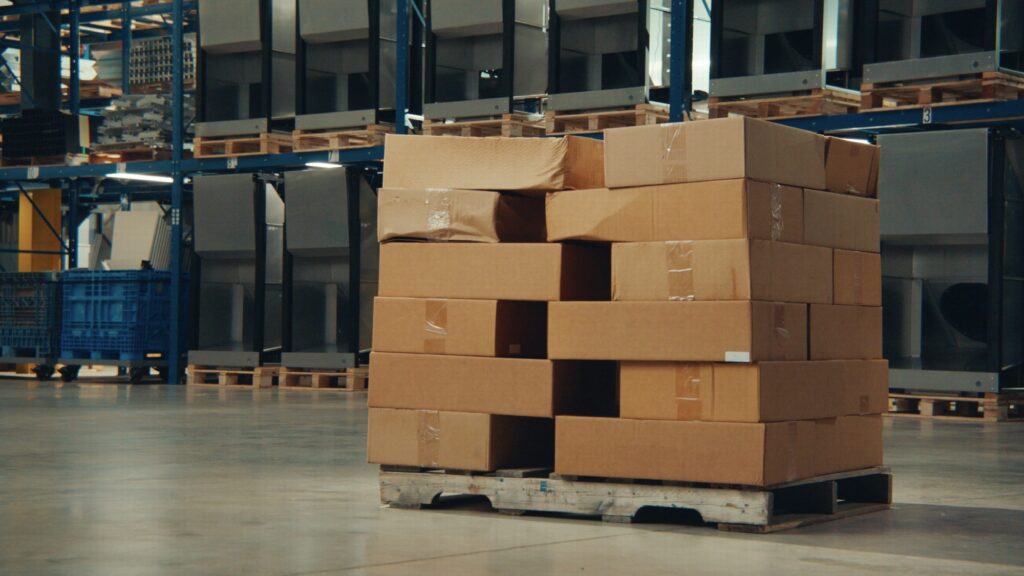
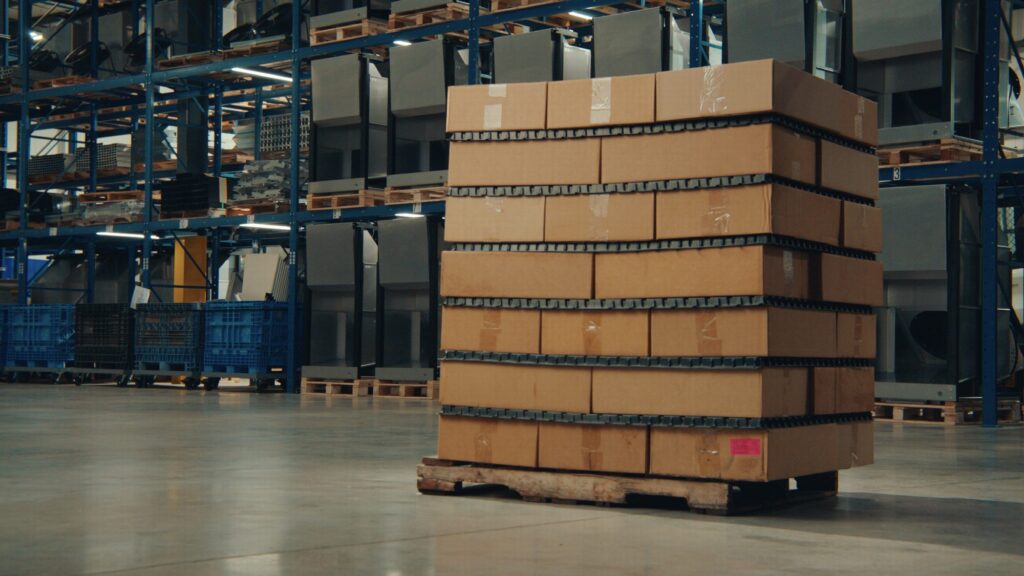
2. Mantén la pila bien cuadrada — nada de chimeneas
3. Asegura la capa superior
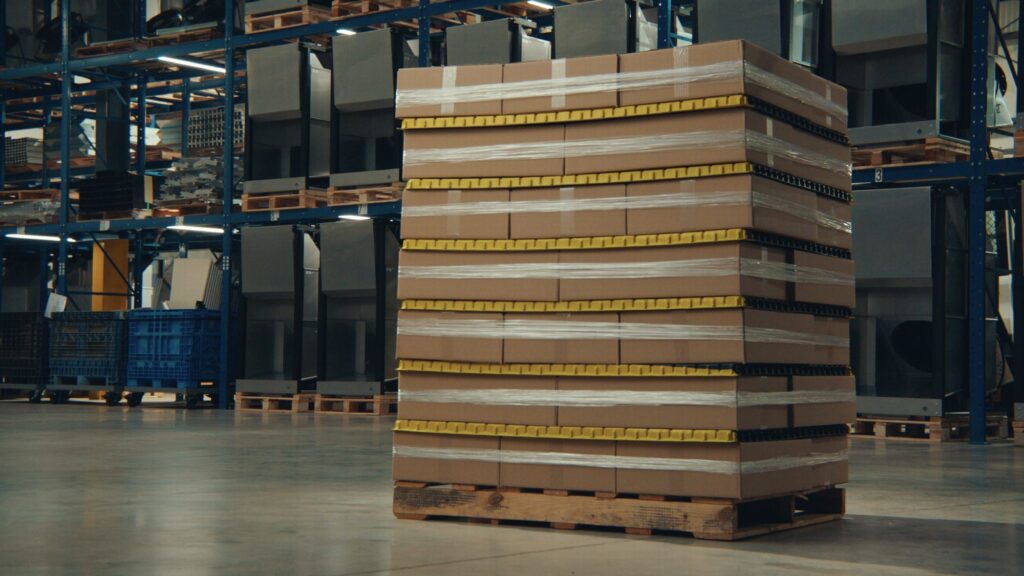
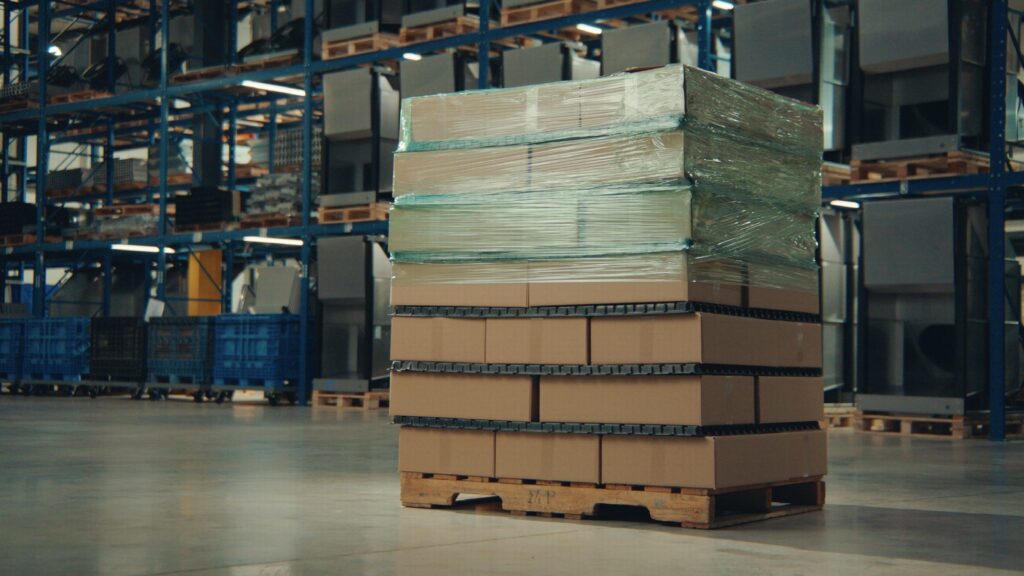
4. Armar correctamente los palés de refuerzo
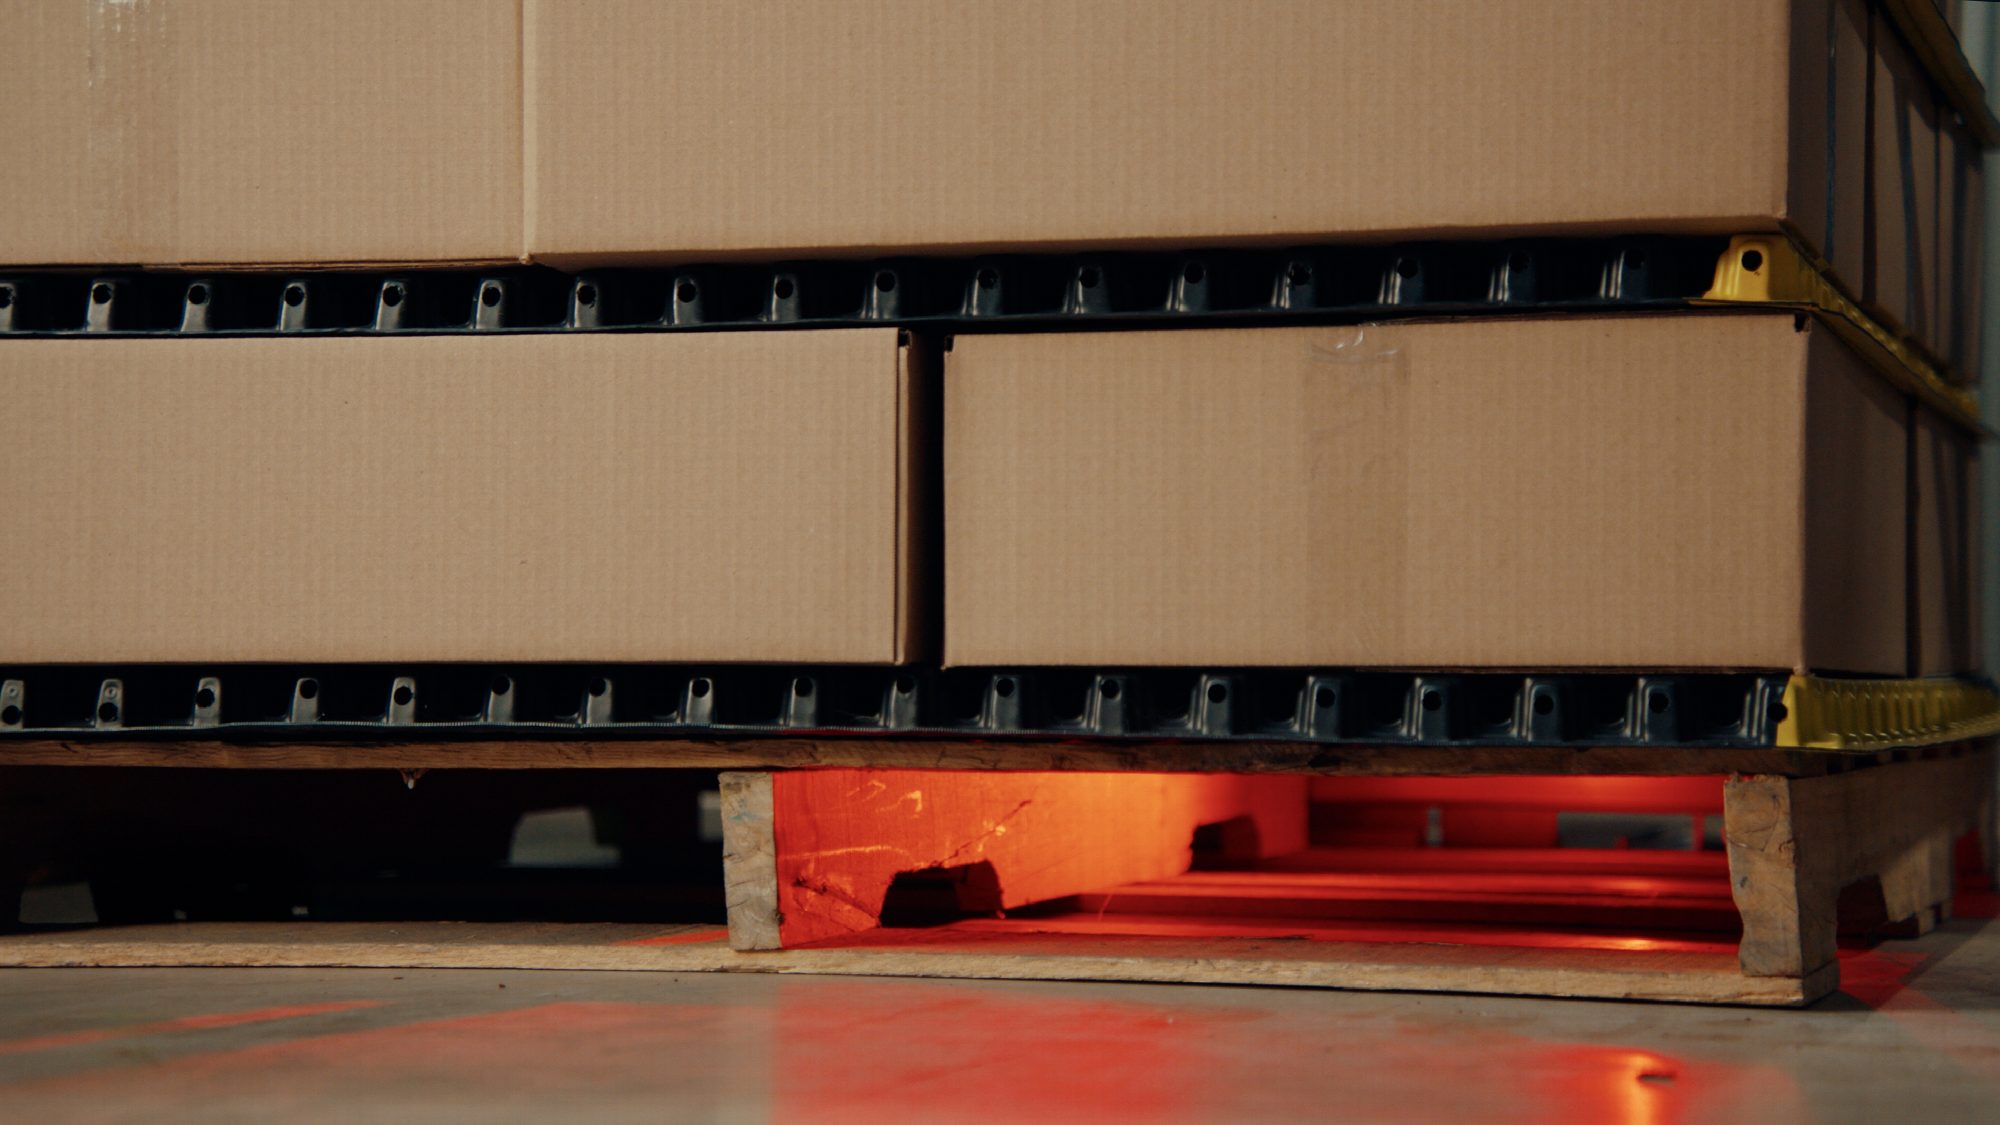
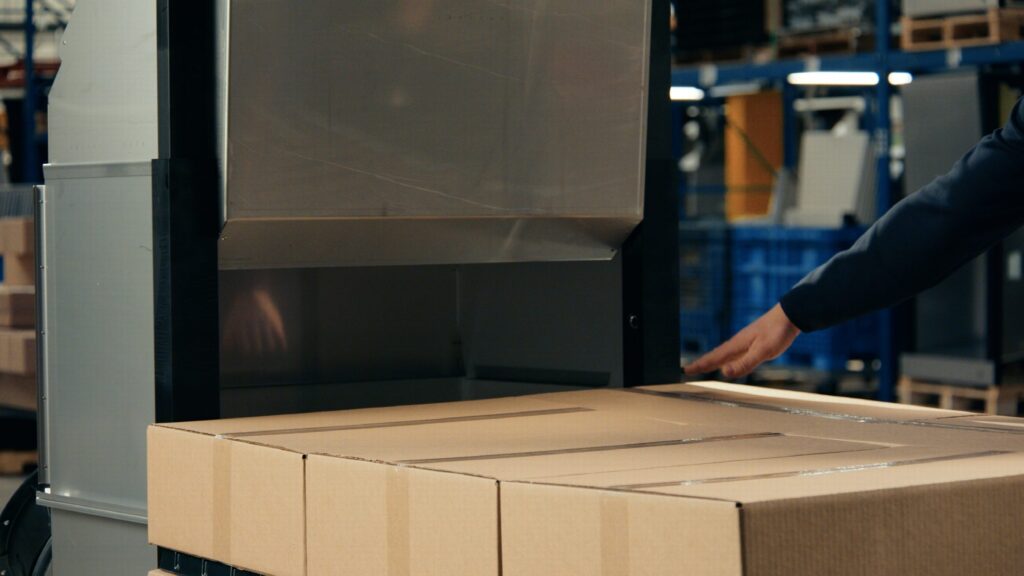
Sellado en la cara del palé
Un sello limpio significa que cada CFM que mueve el ventilador pasa a través del palé en lugar de rodearlo.
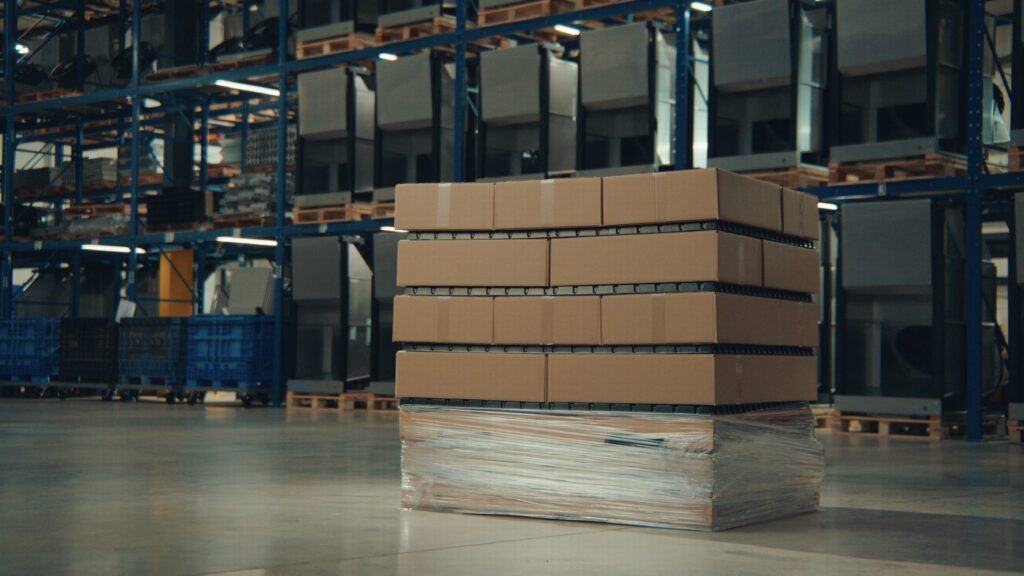
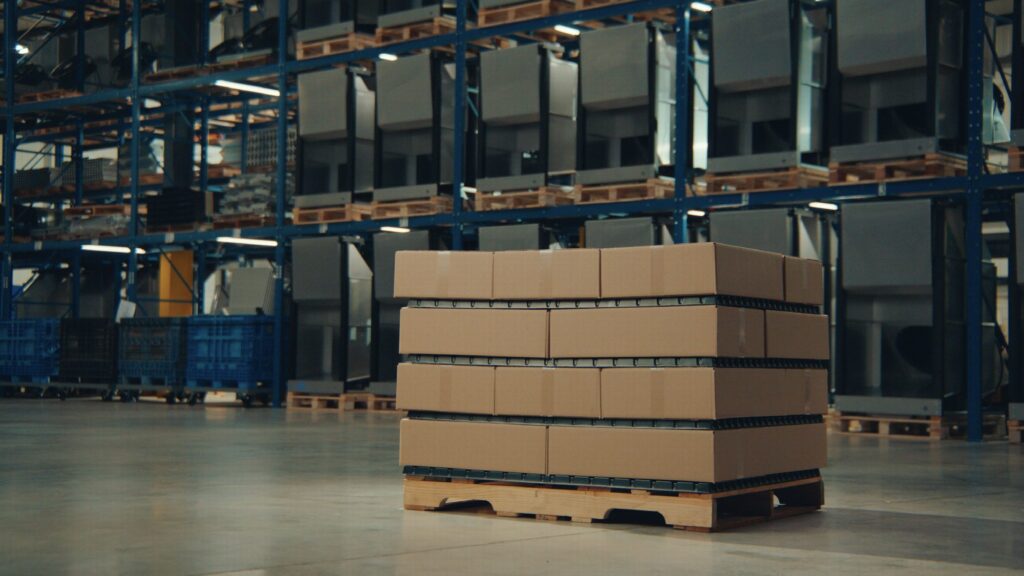
Las pilas cortas y desiguales son el clásico caso más desfavorable. AutoSeal cubre el espacio que solía dejar un palé corto por encima, por lo que no es necesario bajar la temperatura de la celda para compensarlo. La forma de cargar sigue siendo importante: AutoSeal sella el afuera; los espaciadores y una pila cuadrada mantienen el dentro en movimiento.
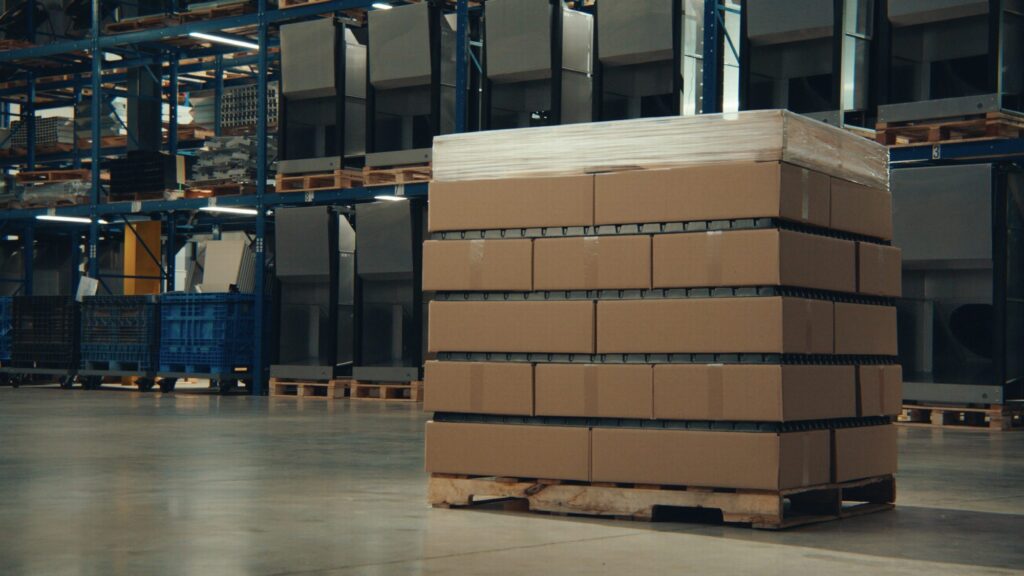
Más ejemplos
Unas cuantas pilas más, buenas y no tan buenas, del piso.
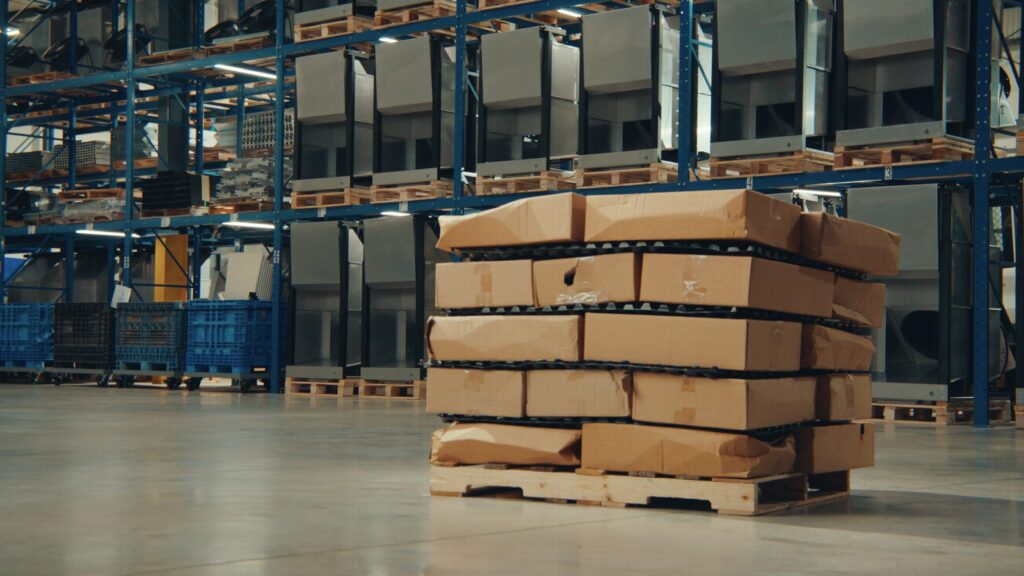
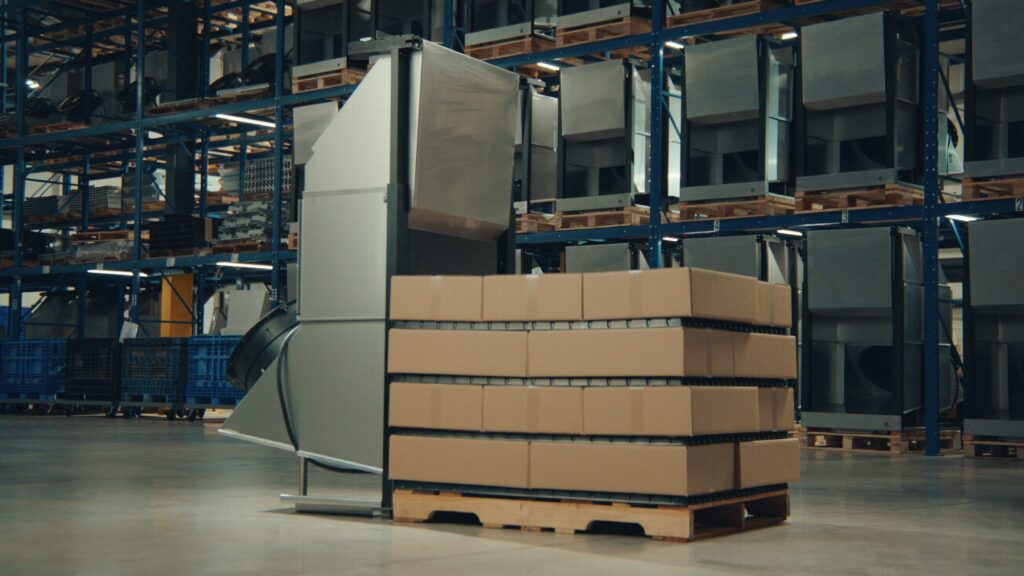
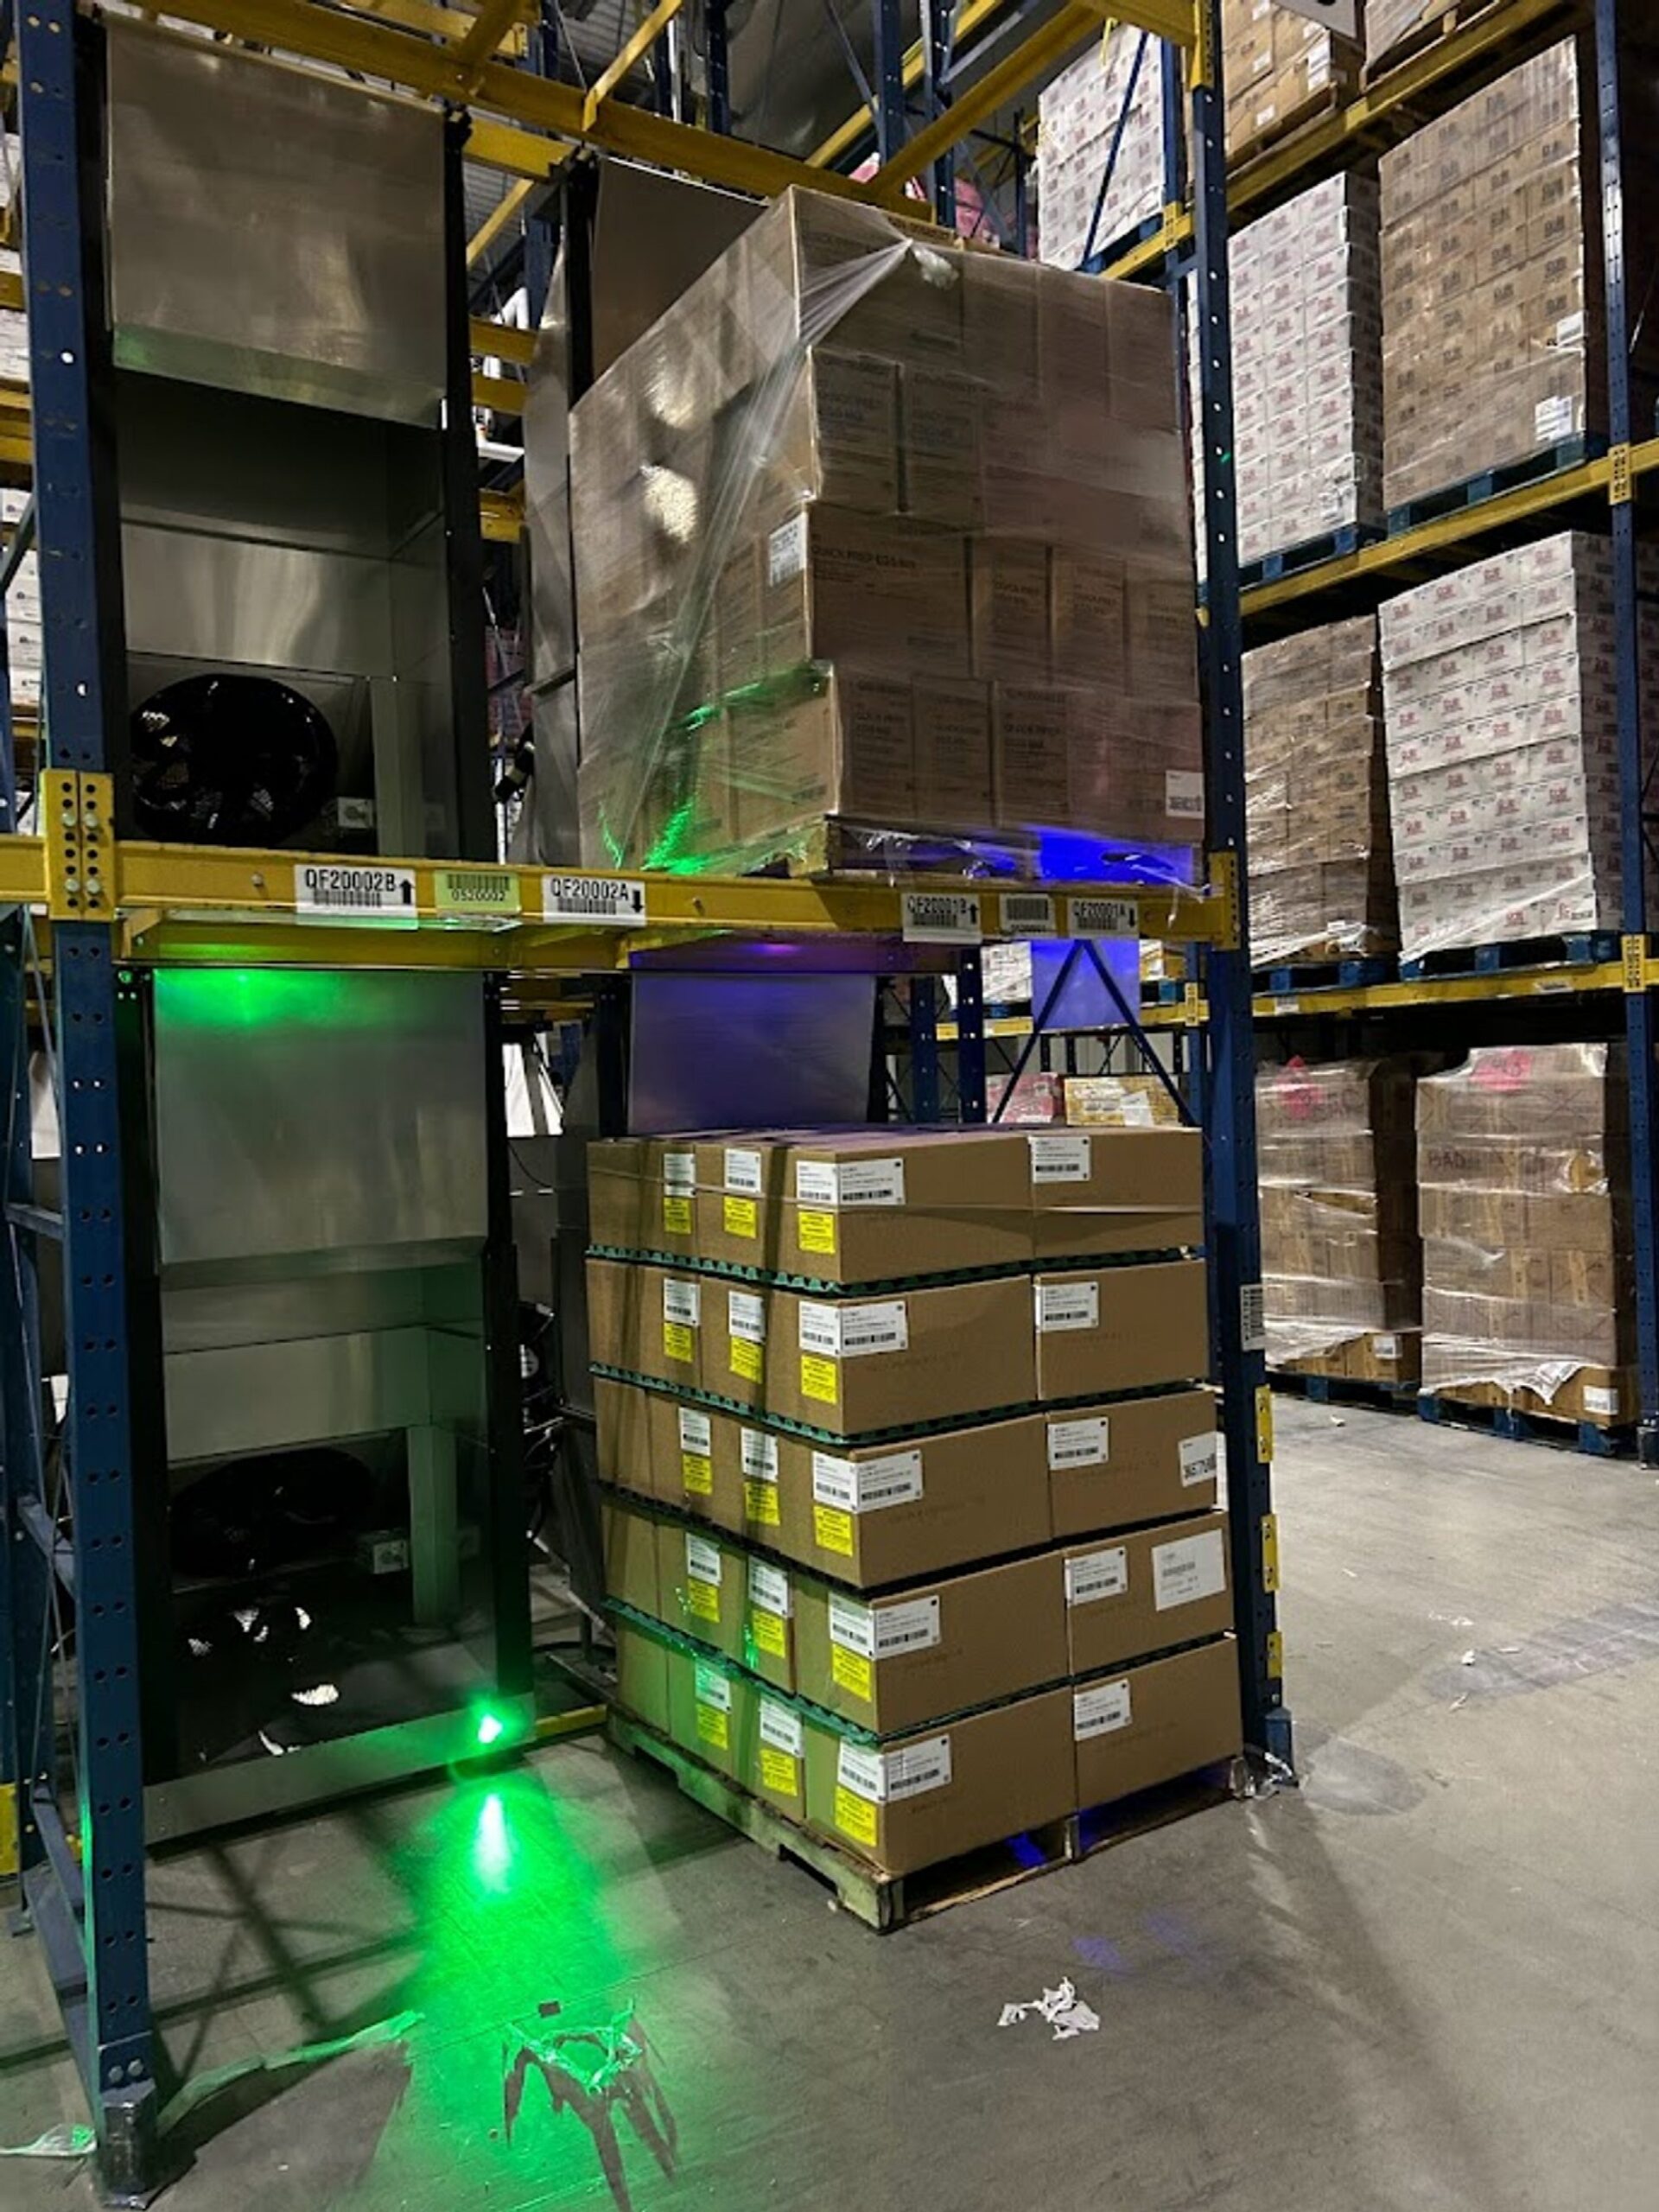
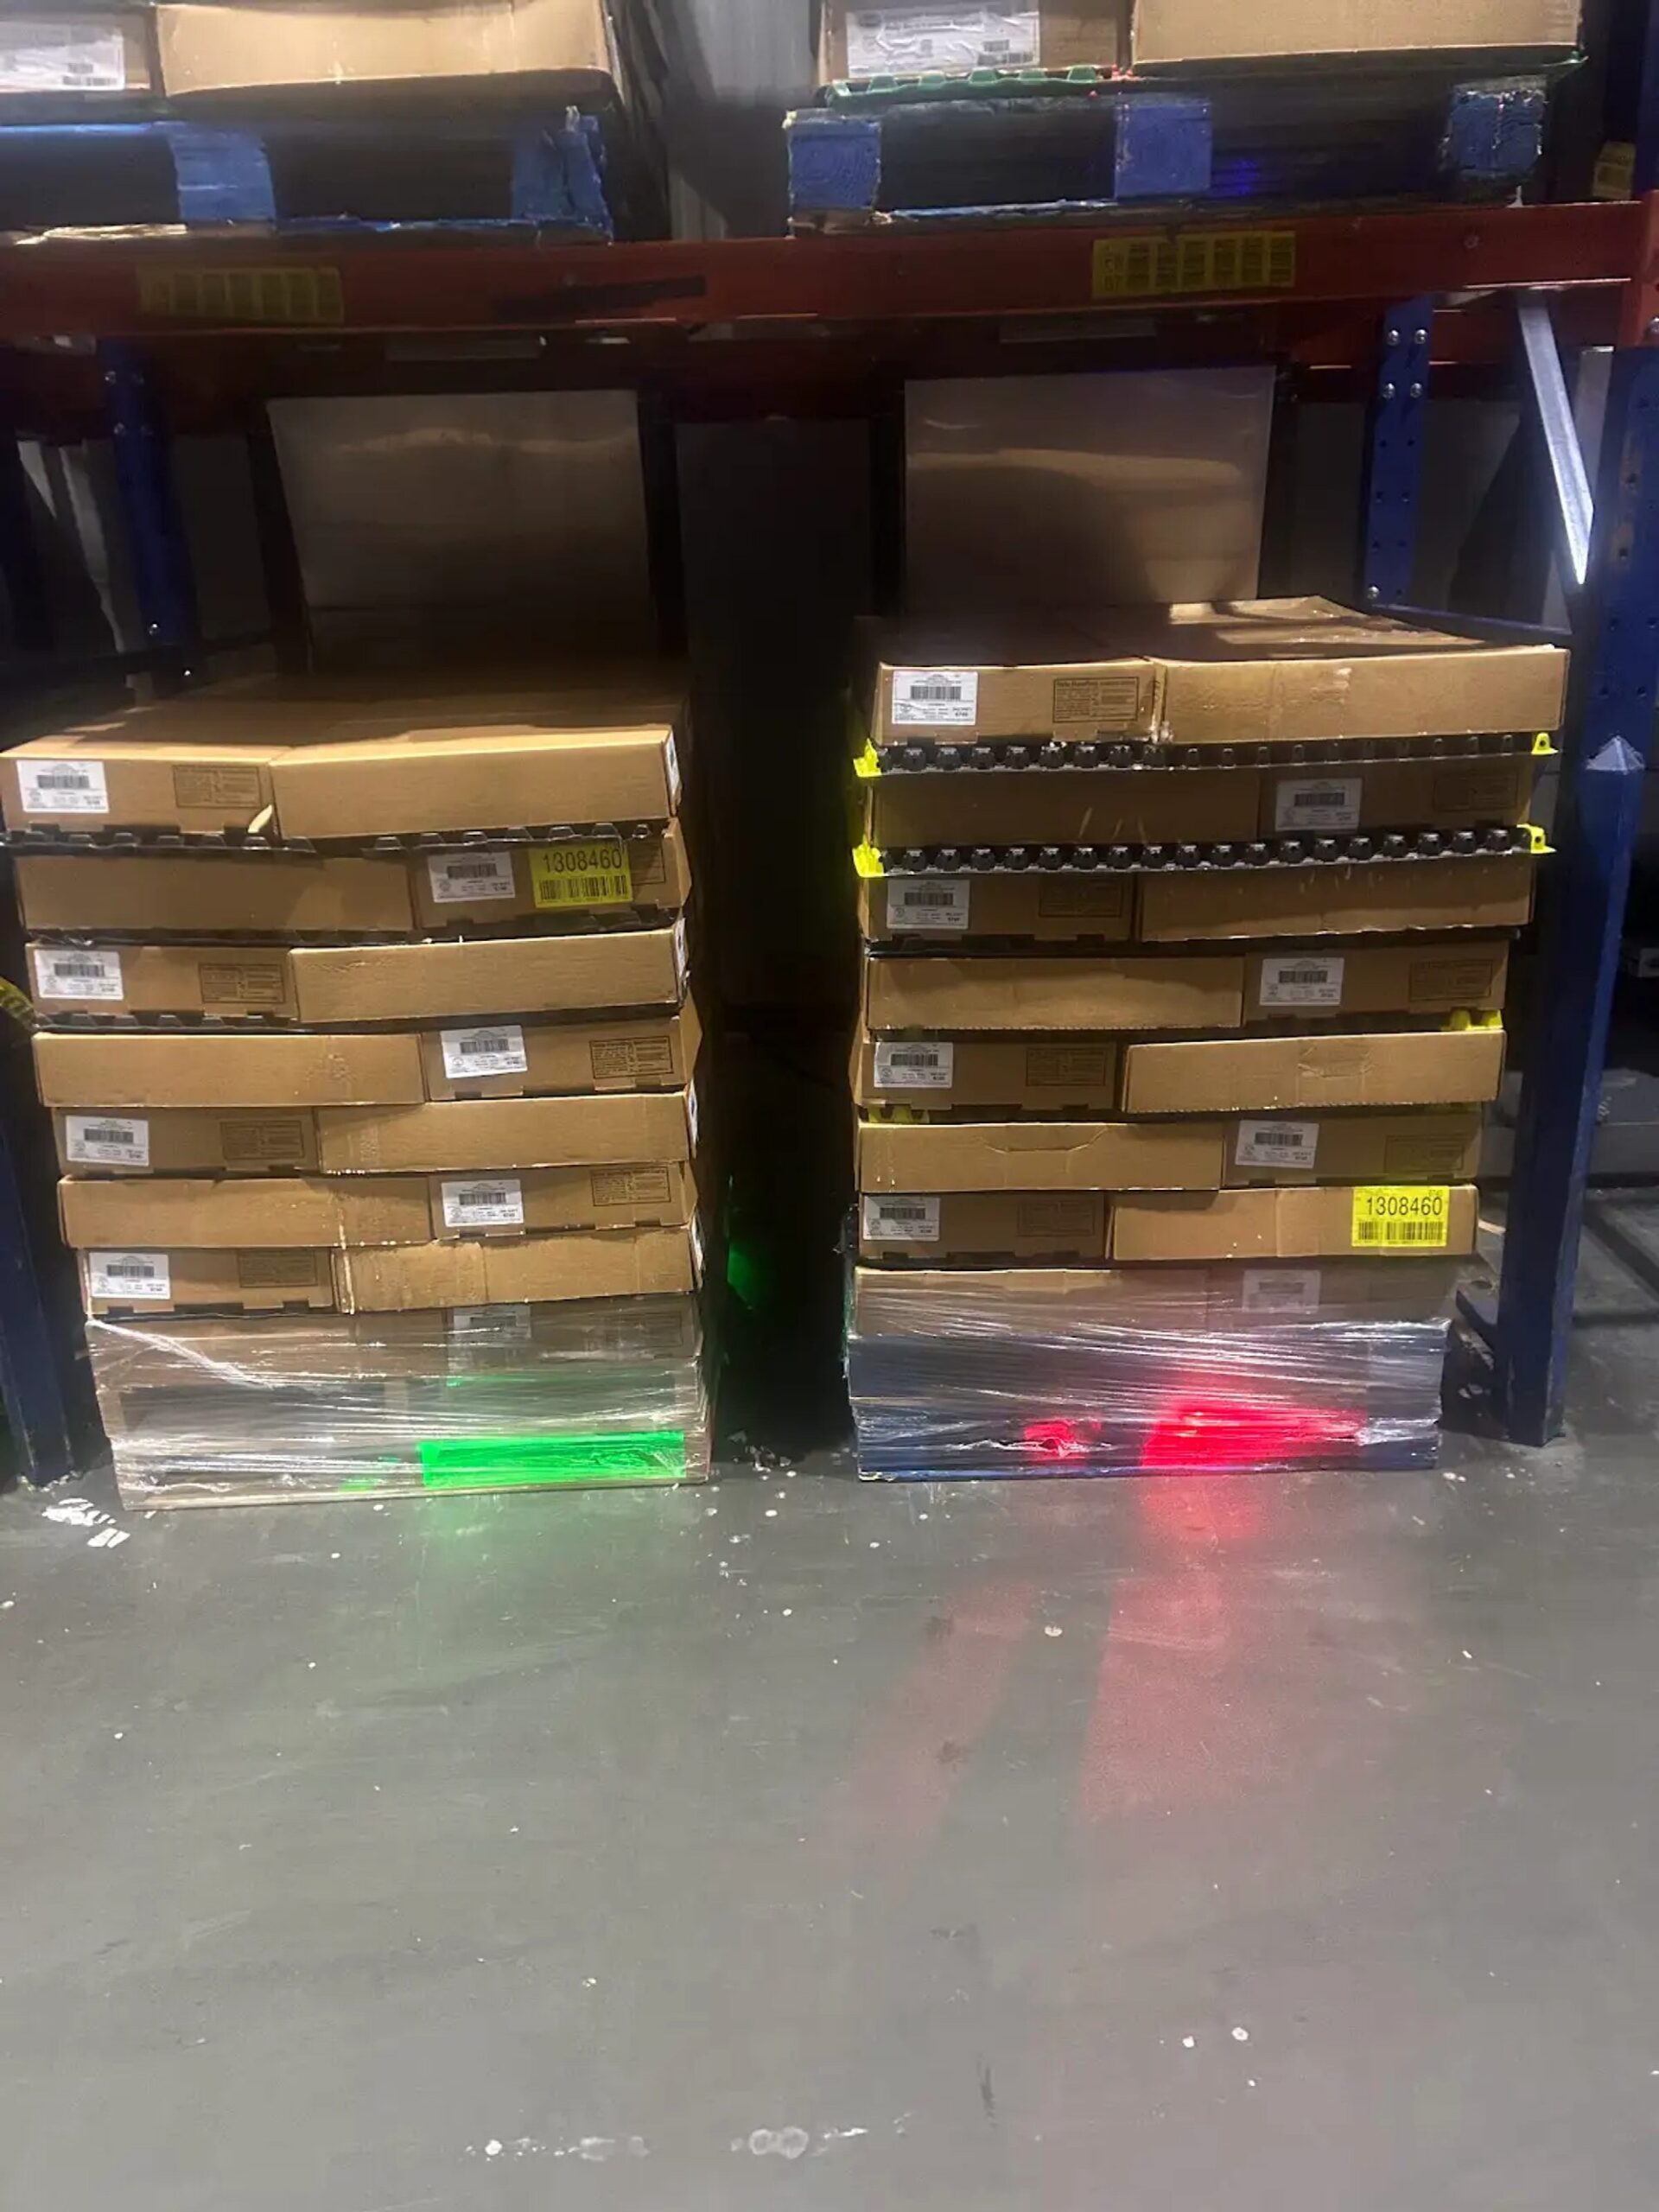
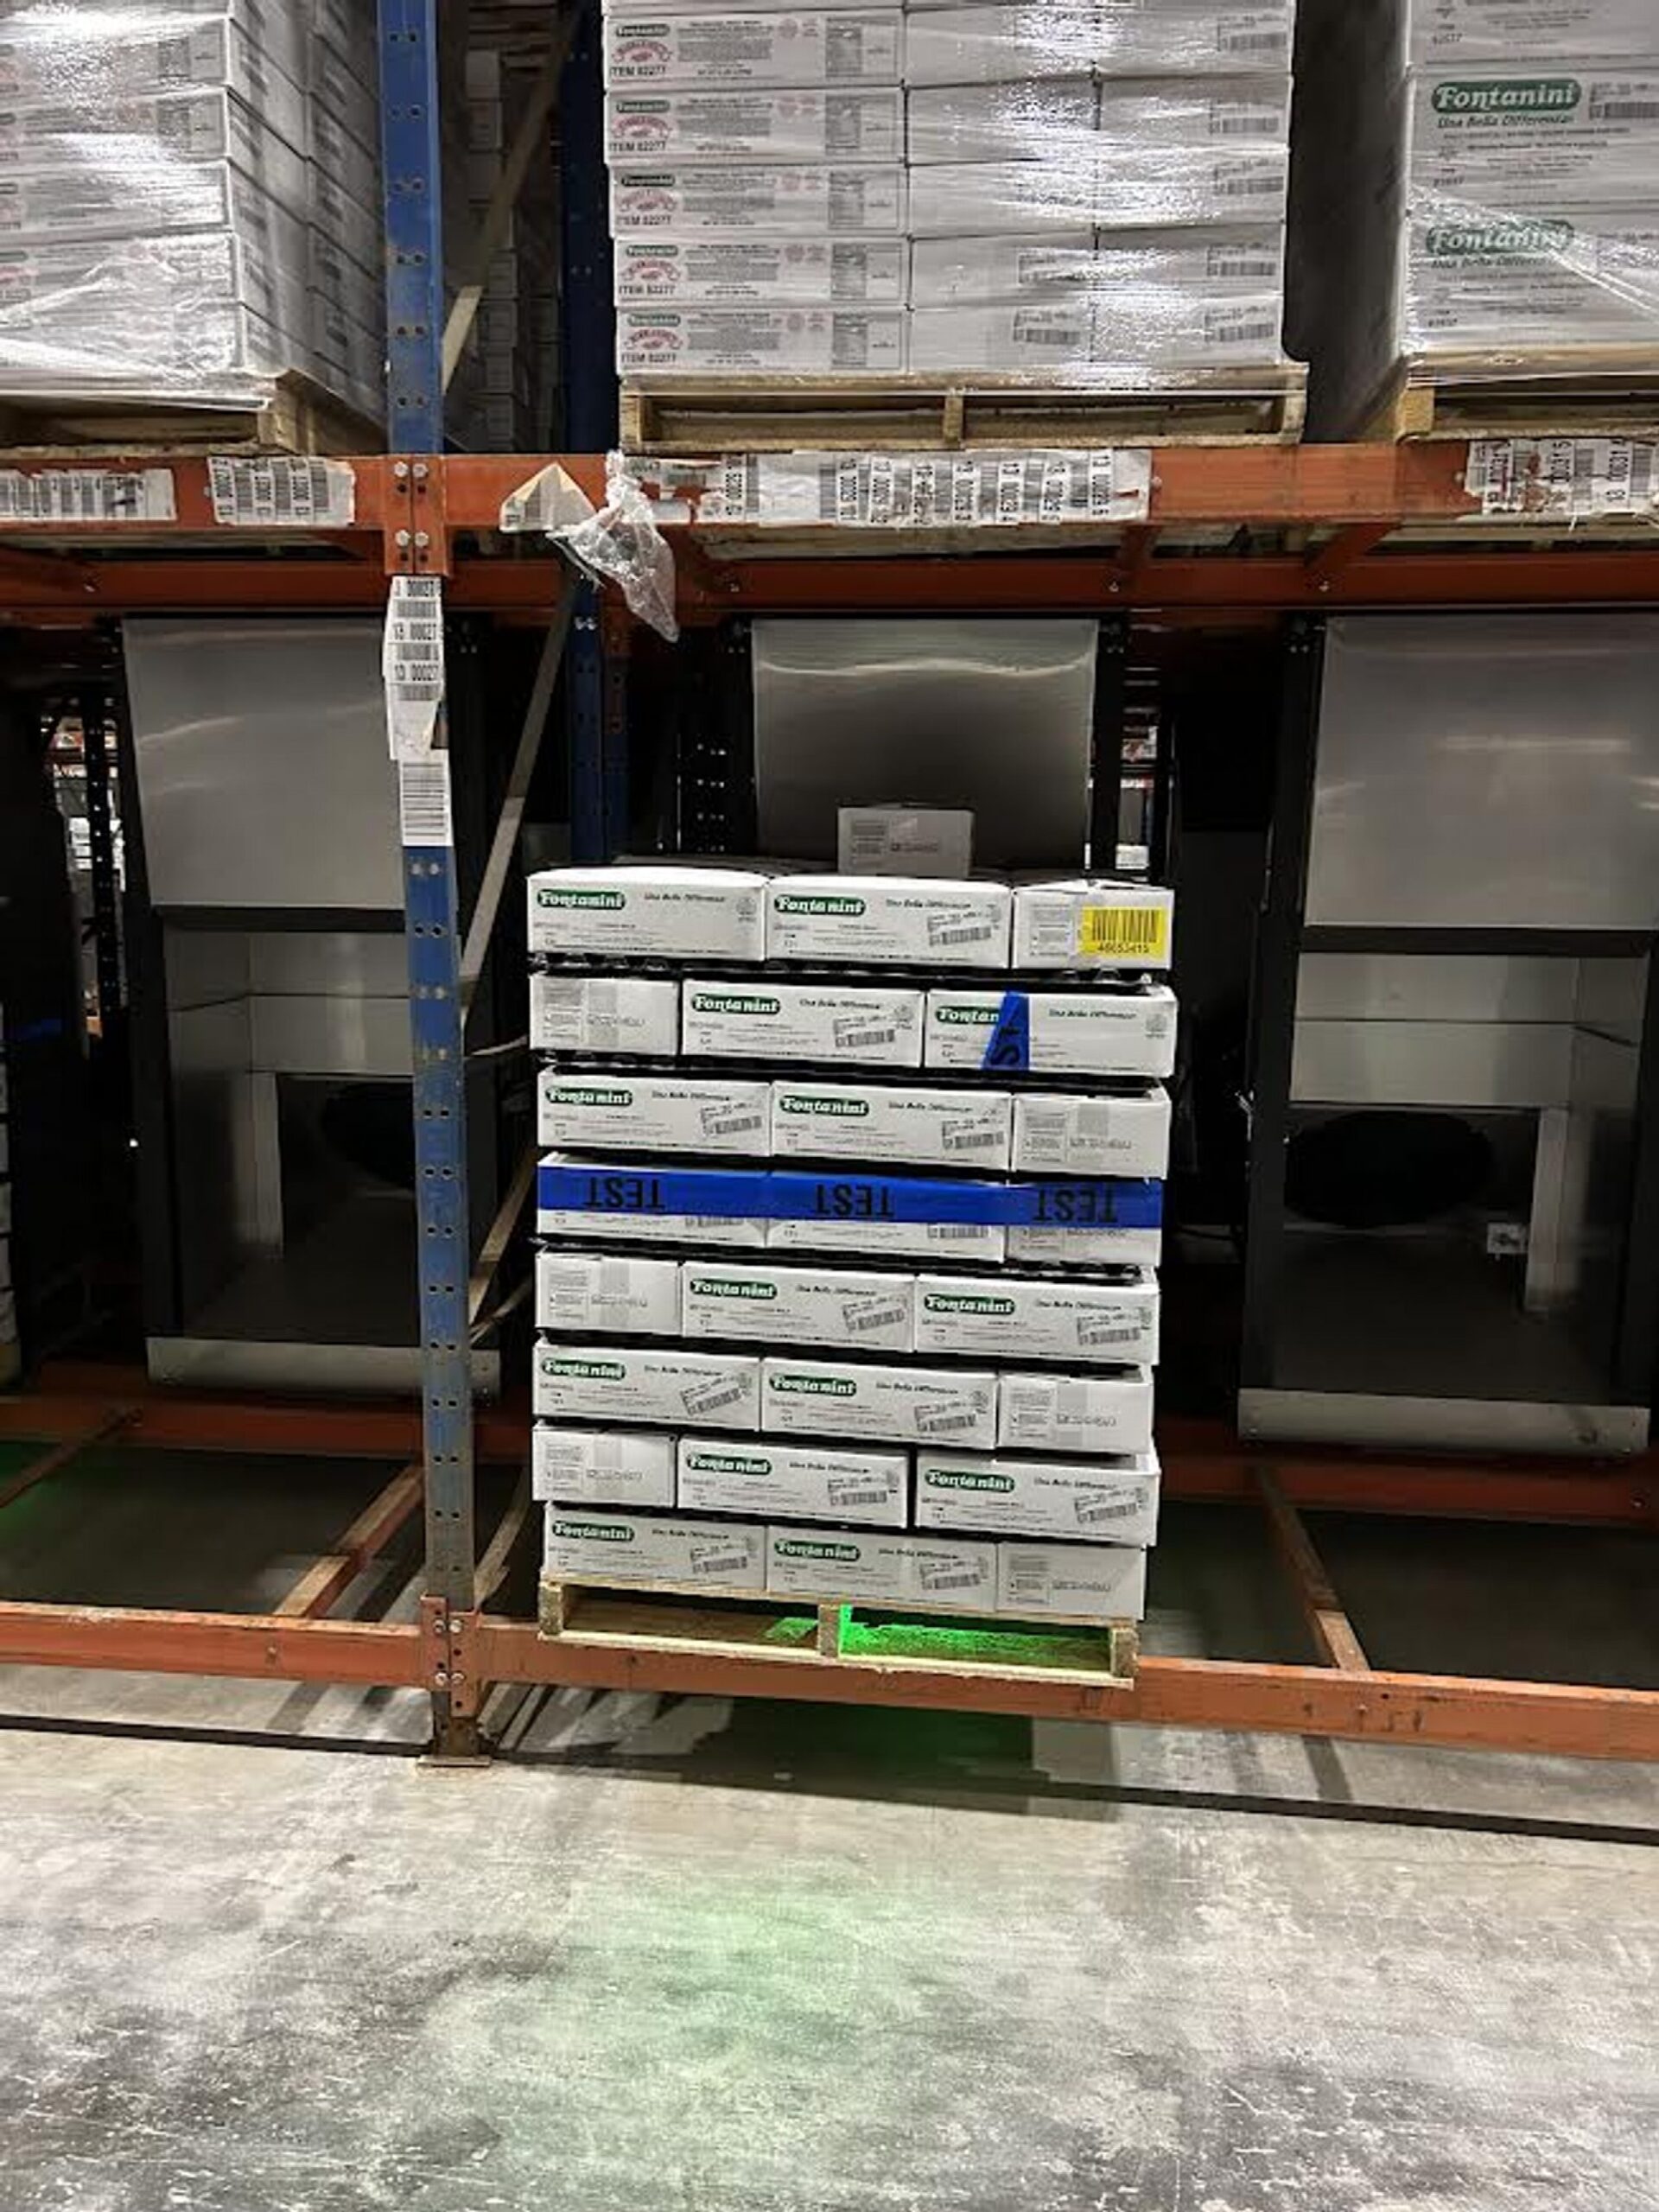
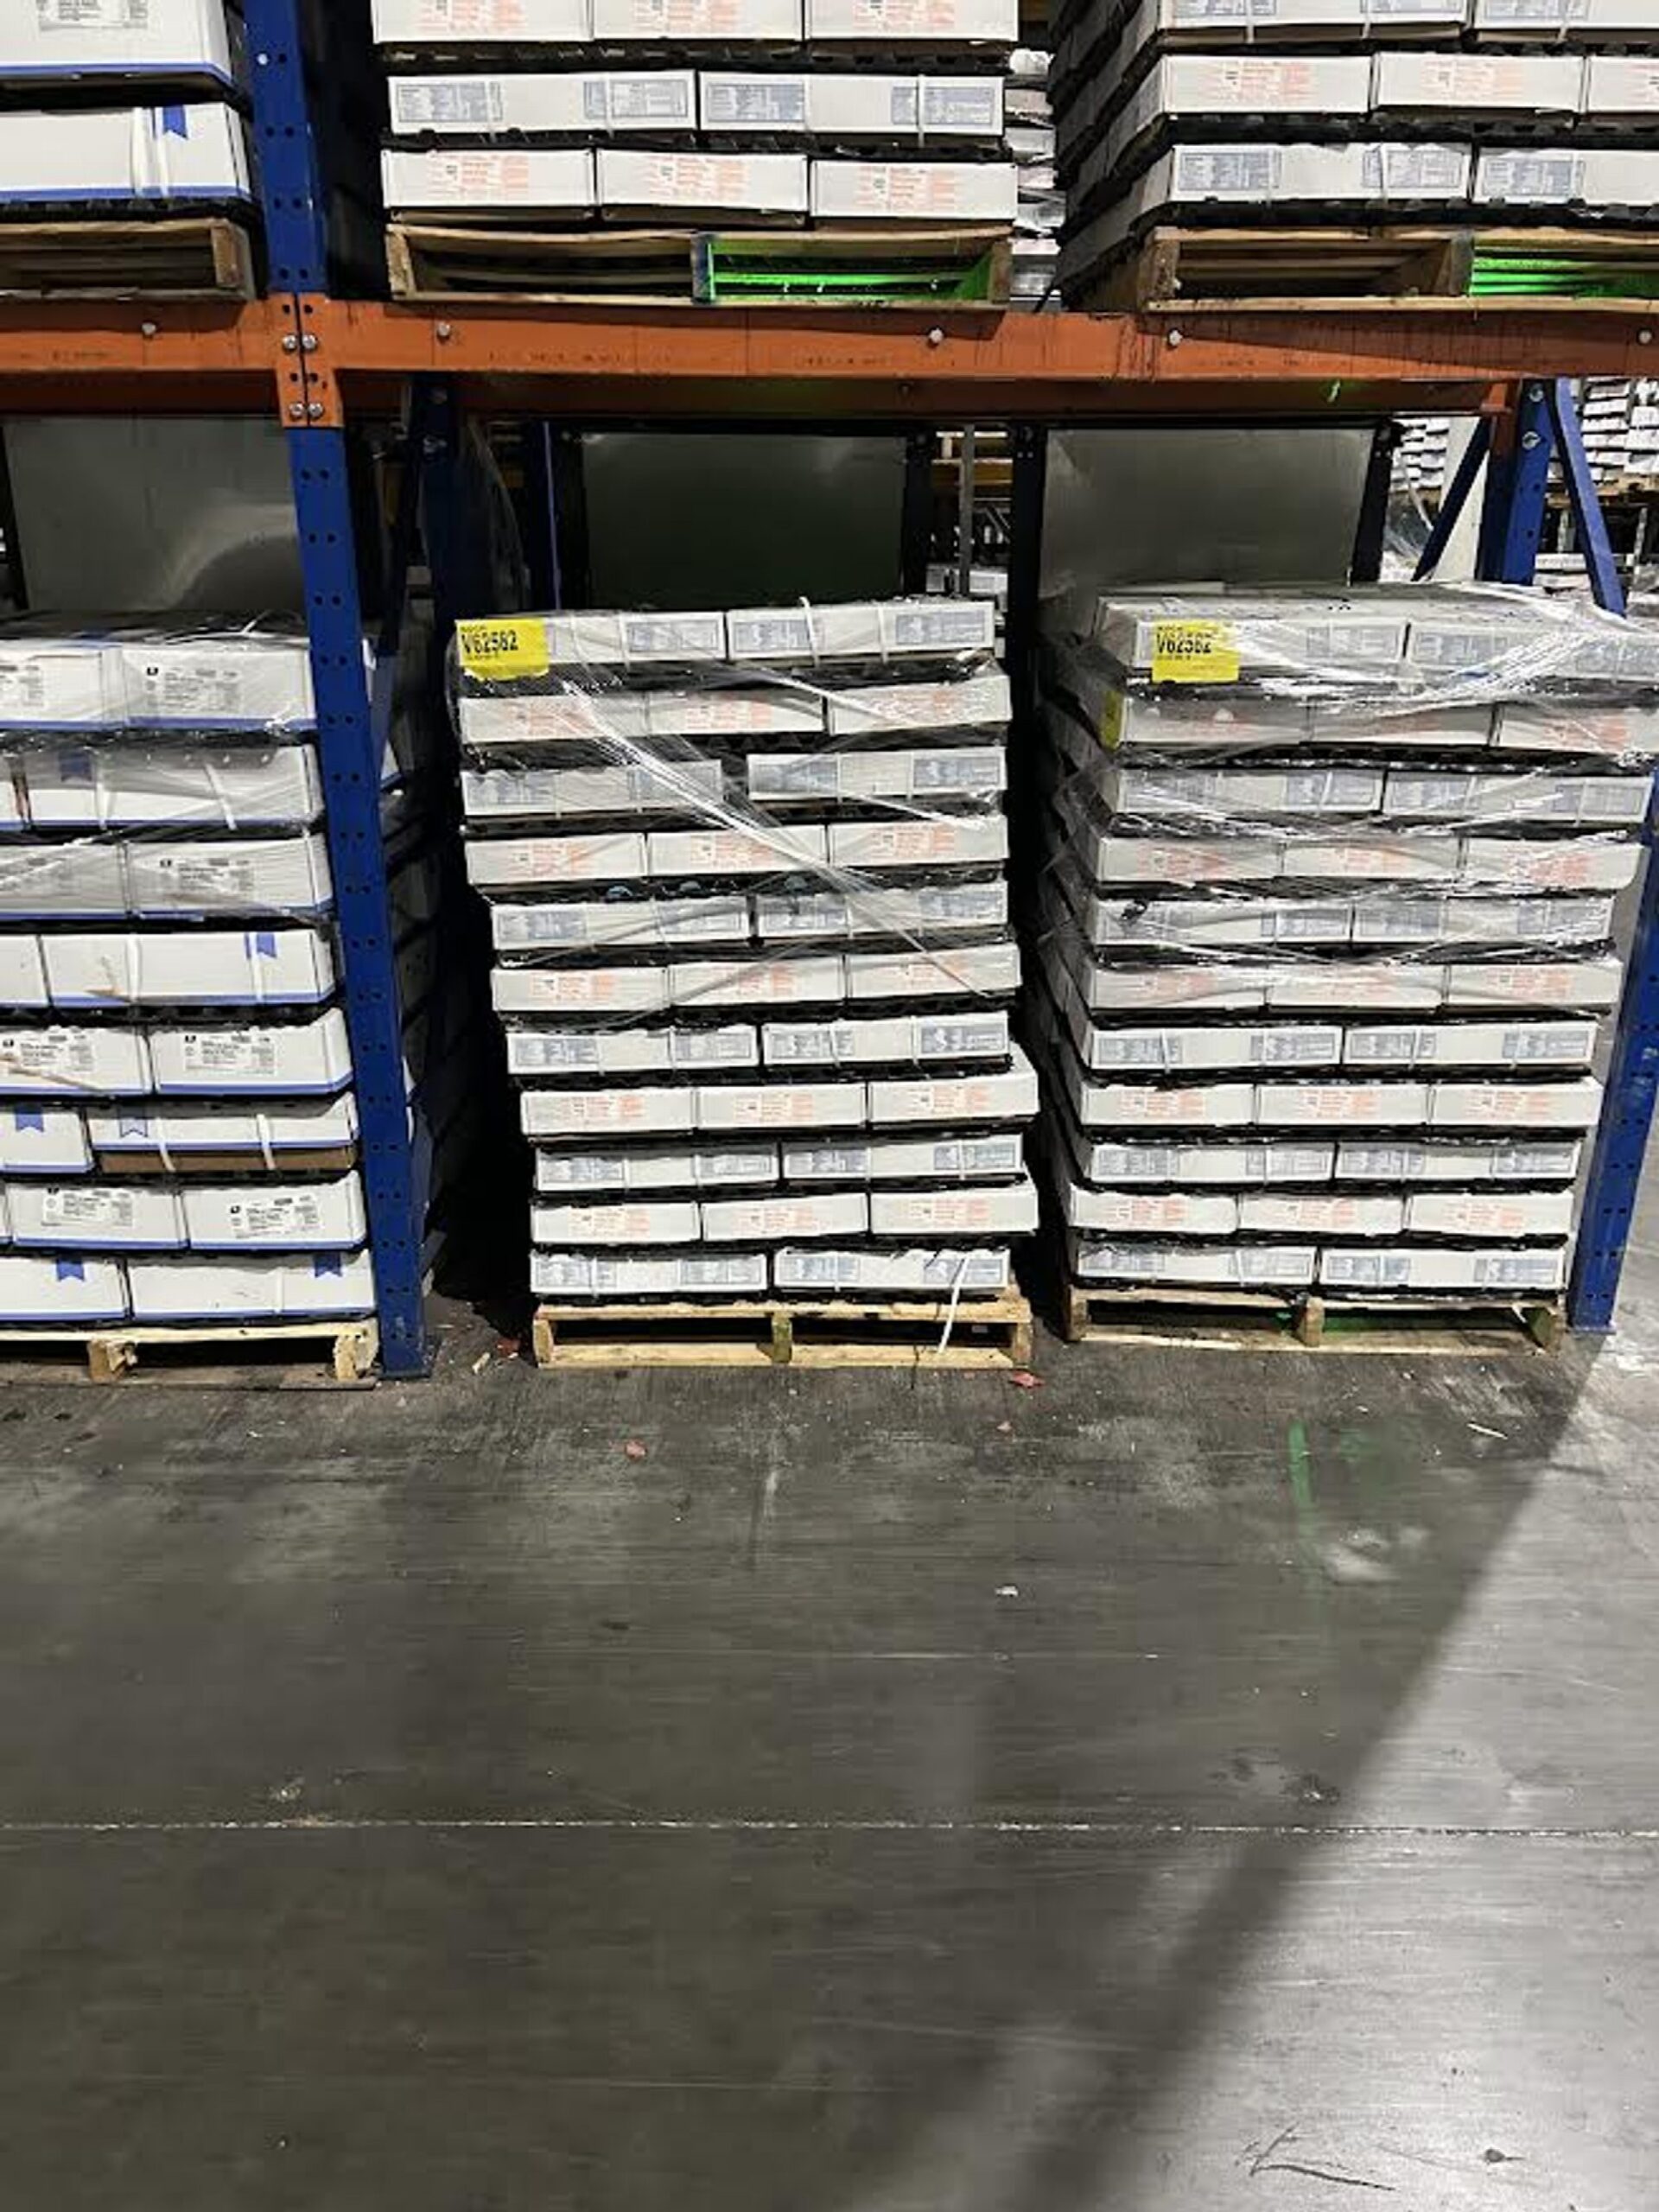
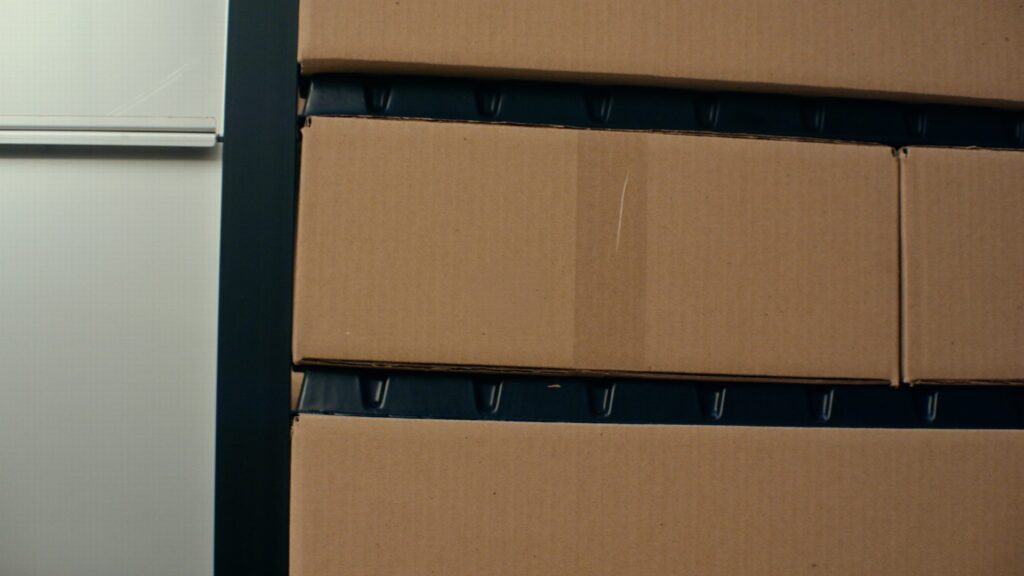
Desde el terreno
Unidades reales en los pisos de los congeladores — las mismas reglas de flujo de aire, fotografiadas en funcionamiento. La luz de estado que se ve a través de un palé muestra por dónde pasa (y por dónde no pasa) el aire frío.